Gaussian Splats Look Incredible. Here’s What To Do When You Need Real Assets
Gaussian splats are one of the most exciting things to happen in 3D in a while.
They let you generate a scene that looks like a real place—complete with lighting, atmosphere, and depth—in minutes. It's incredibly useful for exploring world vibes and artistic direction fast.
But if you've tried taking splats into a production pipeline (Unity, Unreal, or even a clean Blender workflow), you've probably hit the same wall we all have: splats look amazing, but they're not even close to what’s needed for a production scene with game-ready 3D assets.
The power of Gaussian splats is exactly why we built it into WorldEngen and, in particular, direct support for World Lab’s Marble. These aren’t the "final assets," but are the fastest way to discover what your world should look like, and then turn that vision into editable, exportable 3D scenes.
What's a Gaussian splat (in plain English)?
A Gaussian splat represents a 3D scene using thousands (or millions) of small "points" that hold color, shape and transparency. Think of each "point" as a mini semi-transparent ellipsoid sticker and when you view them all together, they create a stunning, realistic result—especially when you orbit the camera around. They look beautiful without advanced rendering because the lighting is baked right into the structure itself.
This structure is fundamentally different than the industry standard in gaming, animation, and real-time rendering, which uses meshes. Contrary to splats, the industry standard is meshes, which are surfaces with polygons, UVs, materials, etc. They don’t contain all of the light baked in, but instead hold the properties of the object so that it can interact with the lighting to create the scene. That's why splats are so powerful for early exploration. You can get to "wow, this feels right" way faster than building everything from scratch.
Why splats are incredible for concept art… and tricky for production

Let's be real about what splats are best at. Check out the image above. This is a Gaussian splat generated from World Labs’ Marble world model, which looks impressive and can be created in just 5 minutes! This isn’t just an image, it’s a scene with depth.
Splats are amazing for:
World exploration and environment ideation
Composition, mood, and lighting
Fast "3D concept art" you can iterate on quickly
Communicating art direction to your team
Splats struggle with:
They are not meshes, which is what is required by 99.9% of all gaming engine and animation
Clean asset (separate objects, can be rigged/skinned)
Textures and materials that can be relit without all the lighting baked
Collisions and gameplay-ready geometry
Efficient real-time performance in game engines
Editing and iteration the way artists expect with standard software (selecting, tweaking, optimizing)
Just like how there are trillions of dollars in the silicon computer chip industry, and silicon is not going anywhere, there are trillions of dollars built on top of meshes, and the fact that splats are not meshes is a very big problem.
There are splat-to-mesh approaches out there. The simplest is the quick methods that are used only as a collision mesh, but even the more elaborate ones that take over an hour to process, the quality is poor and they are just one massive, unusable mesh that would be a huge amount of work to clean up, even if possible. For example, this is the output of the mesh after waiting an hour:
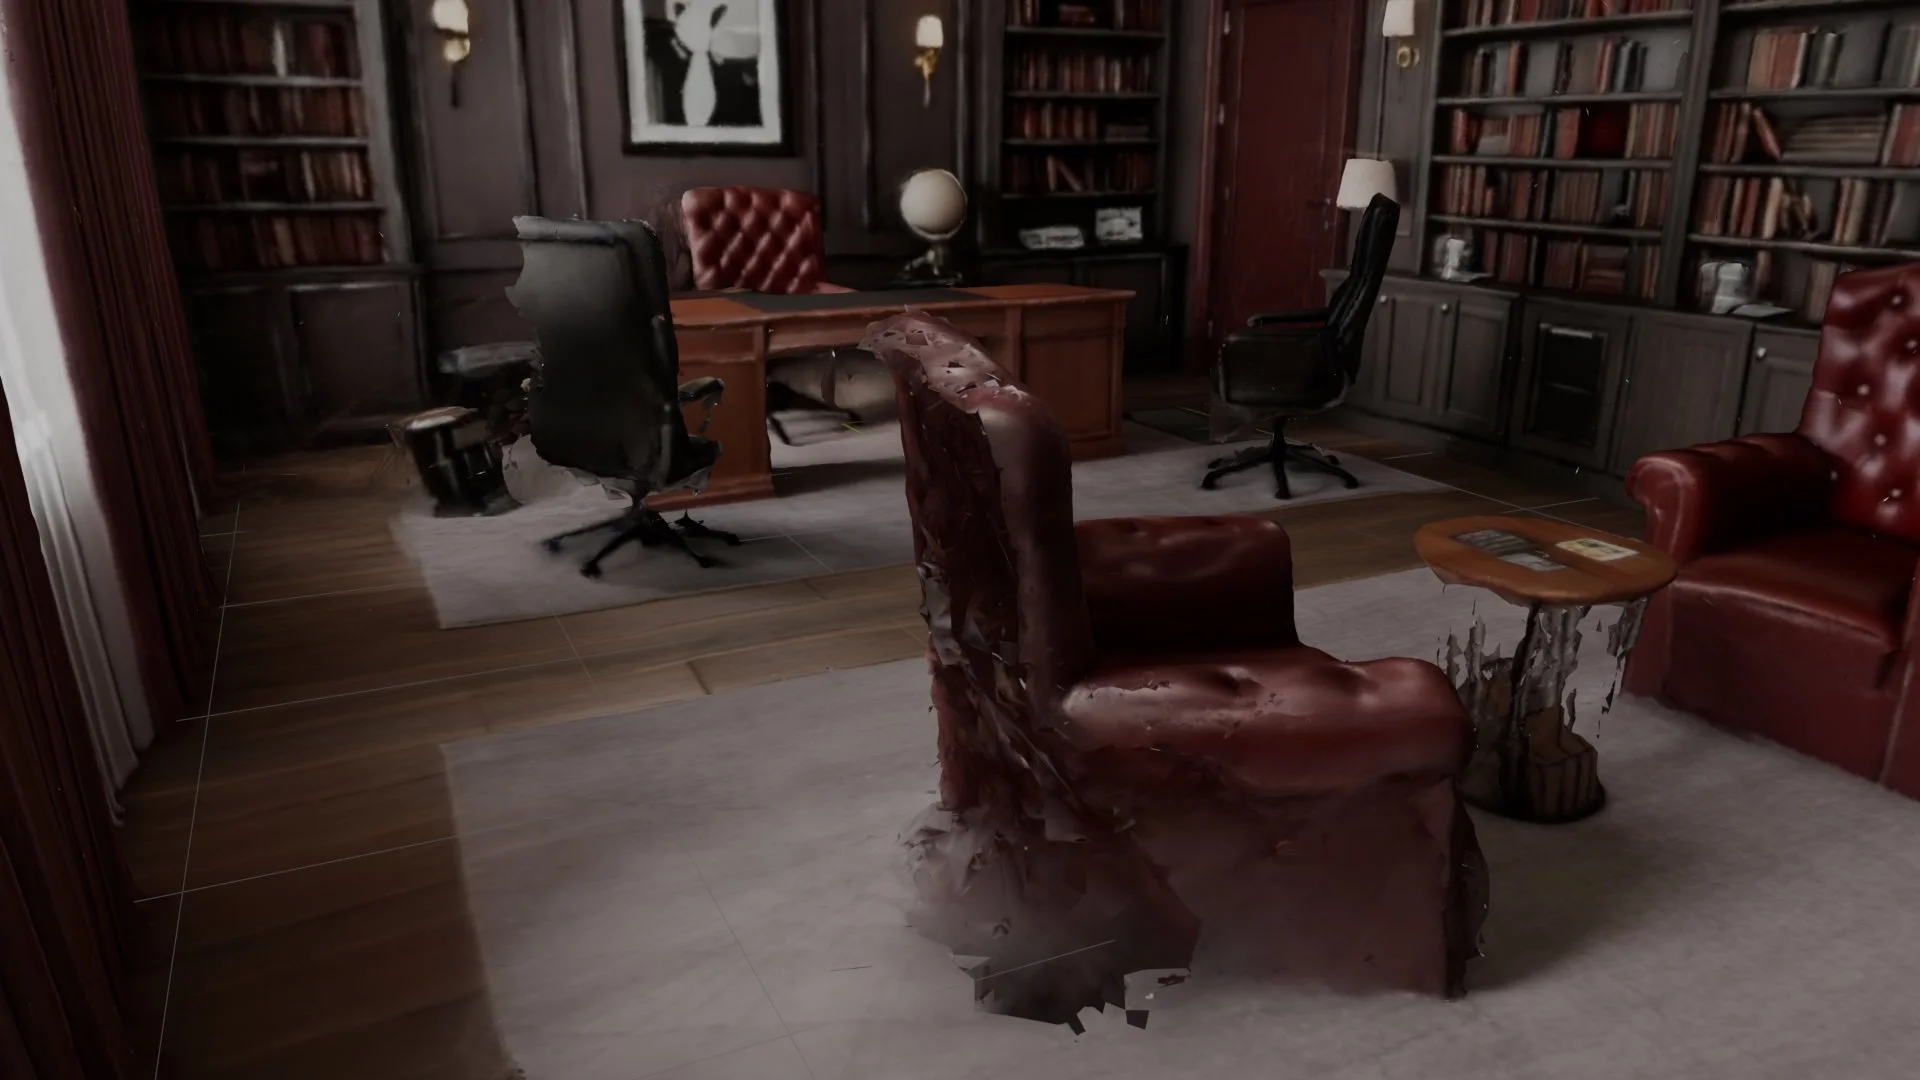
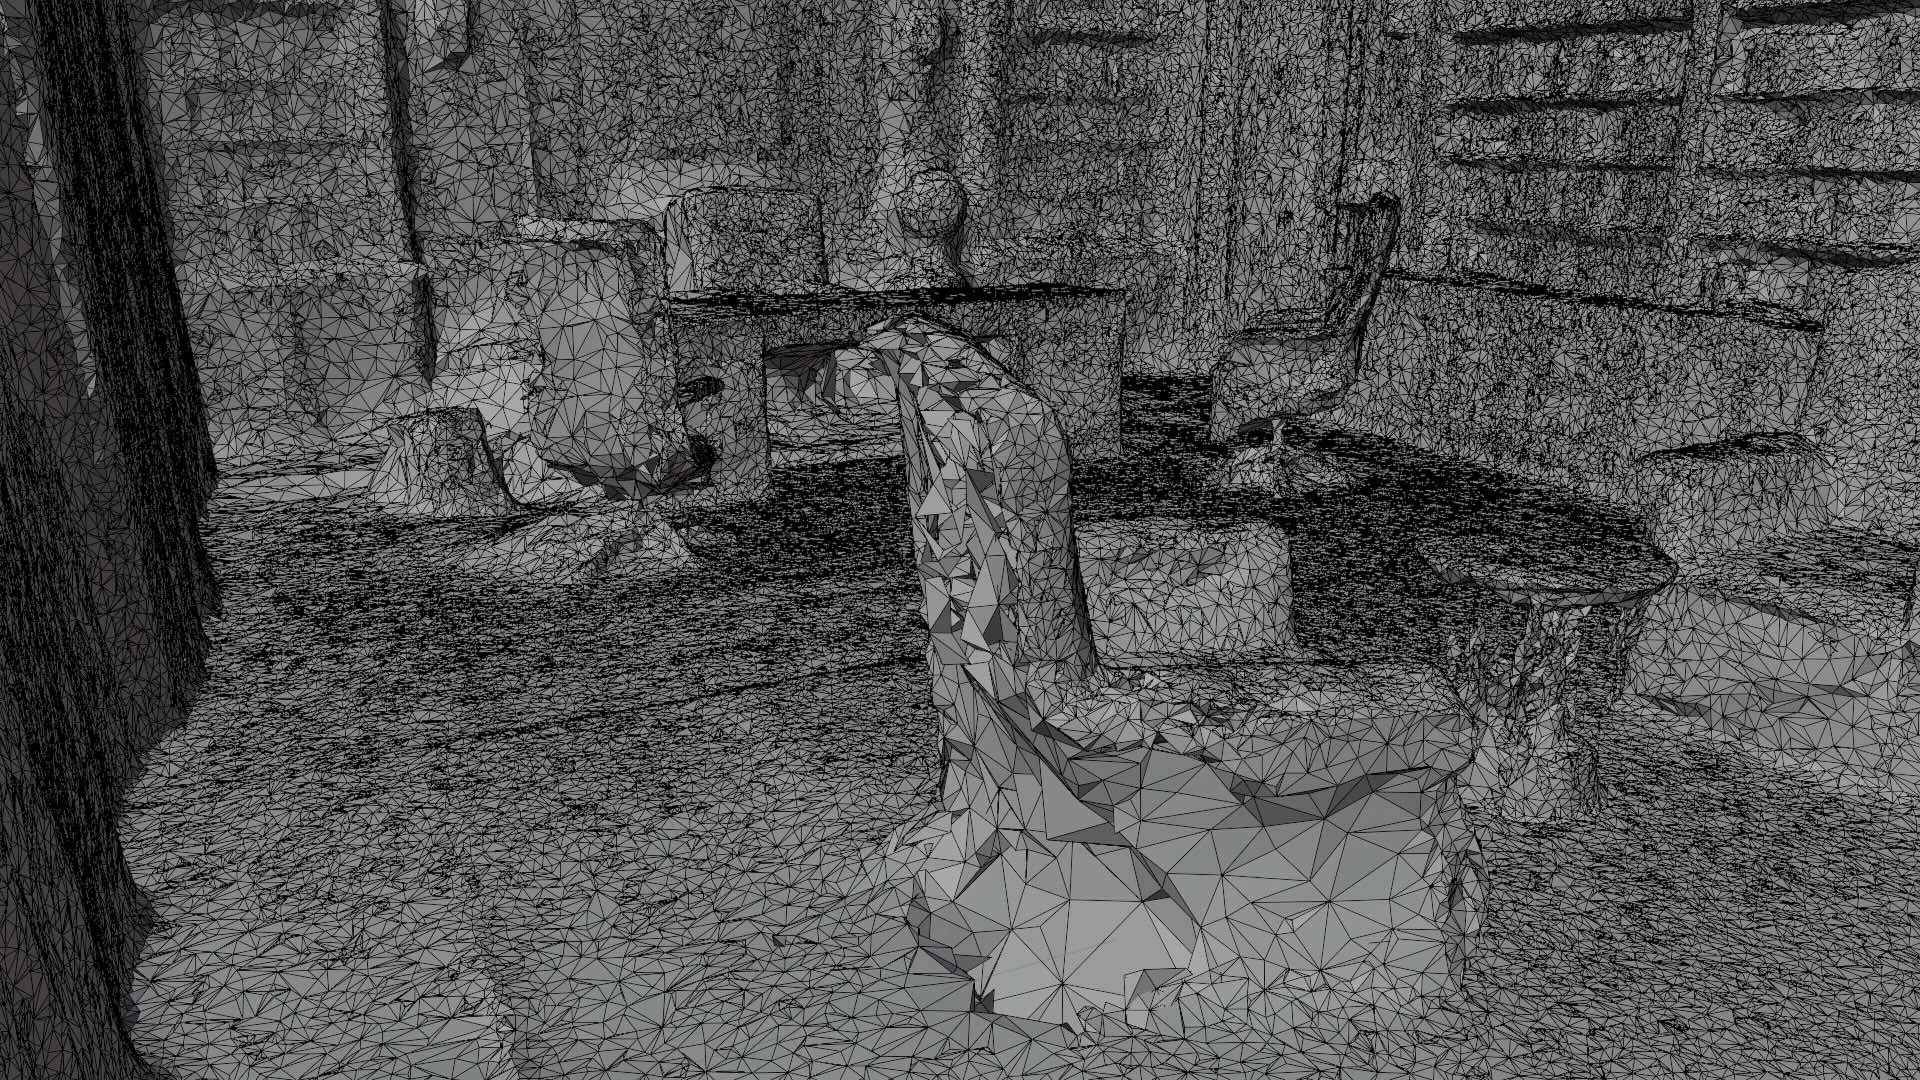
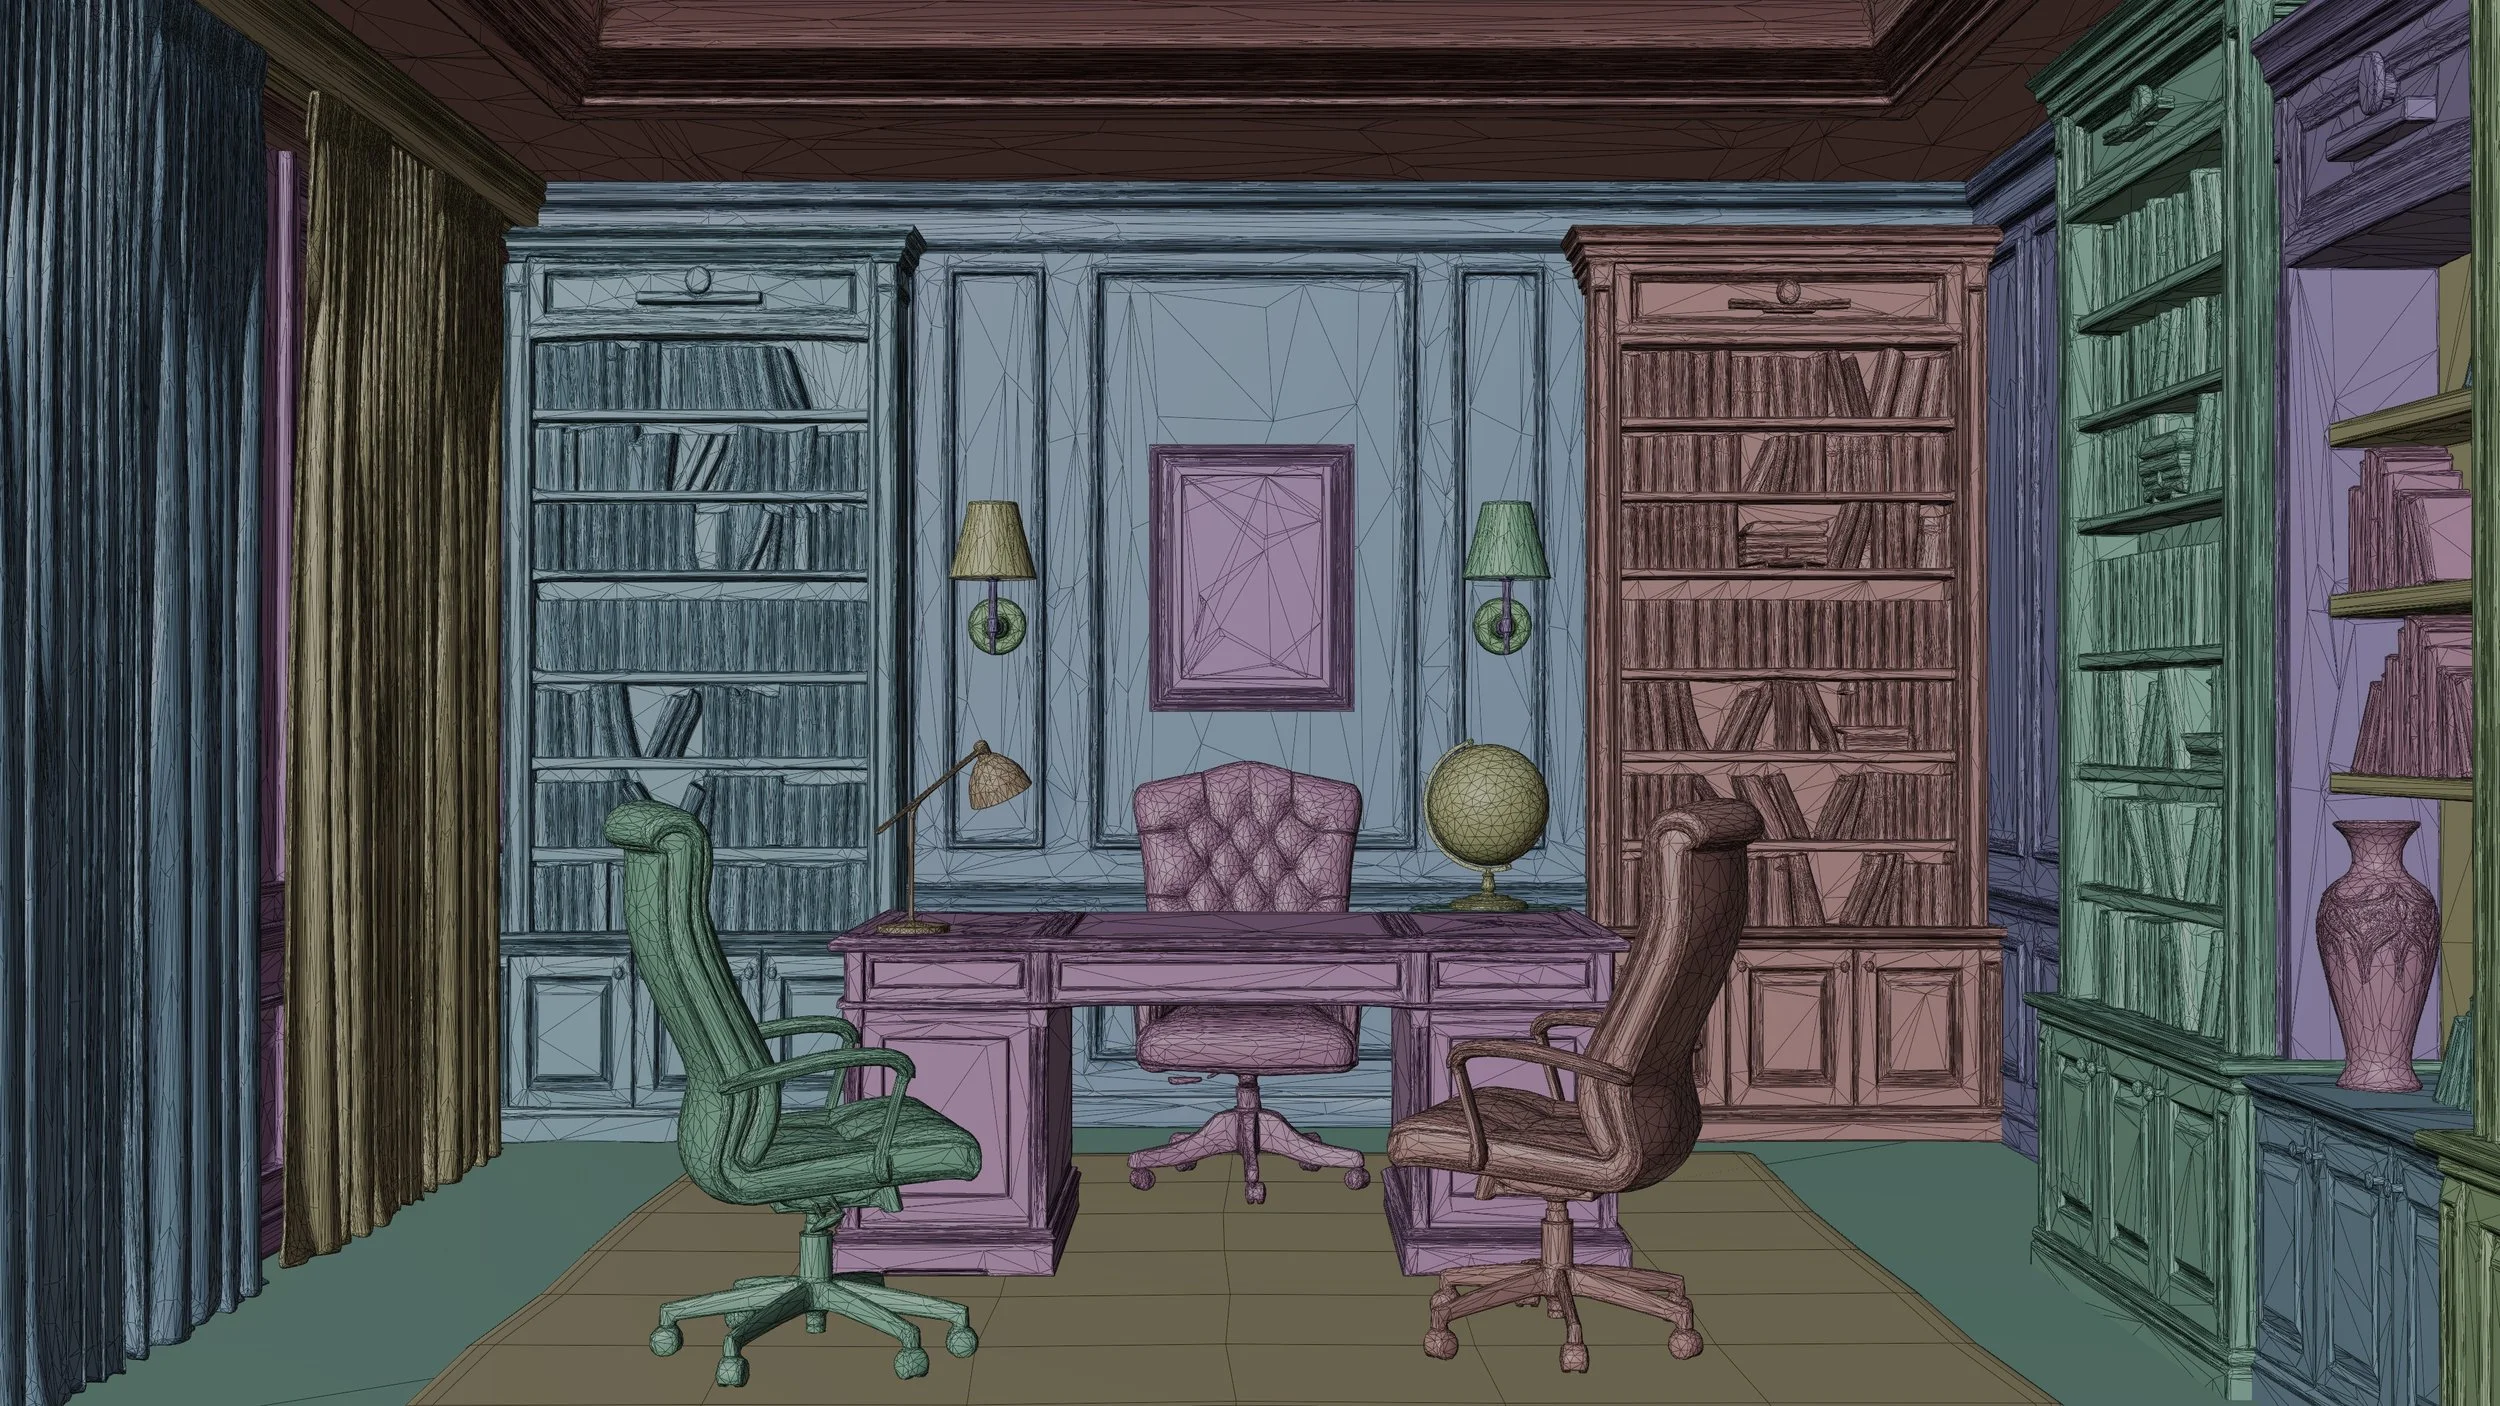
As you can see, there are several issues with the mesh across the entire scene and all the lighting is baked into the textures, making it impossible to relight. To make matters worse, if we look at the mesh itself, we can see that the entire scene one big unusable mesh, that’s like a big soup of polygons:

In other words, it's way more work to fix a converted mesh than it is to just rebuild the scene from scratch without it.
So the question becomes: if splats are the fastest way to explore what a world should look like… how can we turn these into production meshes that are actually usable?
The workflow that works: splats as a 3D concept art
Just because the converted mesh is unusable doesn’t mean Gaussian splats are unusable. In fact, the complete opposite!
The best way to use Gaussian splats today is as 3D concept art for environments.
They give you a highly realistic snapshot of a world—capturing lighting, scale, mood, and spatial relationships—that you can iterate on quickly, share with your team, and use to lock in art direction before committing to production-ready assets.
Think of splats as the 3D version of a concept art image—except you can orbit the camera, explore depth, and evaluate composition in actual space.
In WorldEngen, we treat Gaussian splats as a 3D concept art to discover and align on:
The overall environment look and feel
An initial sketch of key props and spatial layout
Textures and composition
Once the creative direction is clear, you translate that impression into a clean, editable scene built with real assets—not by converting the splat, but by using it as a visual guide.
This separation is intentional:
Splats = discovery and alignment
Assets = structure and production
That's what lets teams move fast creatively without paying the technical debt of forced conversions later.
So, how do we turn this into a production game-ready 3D mesh scene? Here is the quick version:
Step 1: Generate 2D Concept Art
2D images may not be as rich as 3D Gaussian splats, but AI can generate images in seconds instead of minutes, so images are a great place to start.
Use WorldEngen to generate several concept art images from text with the following prompt:
Create 5 concept images of a [details of what you want to create].
Of course, replace any parts in the brackets [ ] with the specifics for your project.
Once you get close, then edit the image to fine-tune it to get an image like this:
Edit [image file, e.g., @generated/images/imagename.png]
with the following edits: [details of the edits]
Step 2: Generate 3D Concept Art
WorldEngen can convert the image into a 3D Gaussian splat thanks to WorldEngen’s direct support for World Labs’ Marble world model. After about 5 minutes, you can have a high-quality Gaussian splat like the previous Gaussian splat shown above:
Create a gaussian splat of a [image file]
If the Gaussian splat isn’t exactly what you want, you can always iterate on the original image and then regenerate it again. Alternatively, if you would like some additional Gaussian splat editing ability, you can go to the Marble website (https://marble.worldlabs.ai/), and if you purchase a paid account, you can import the 2D image you generated, generate a Gaussian splat, then iterate on it on the Marble website.
Step 3: Generate Concept Art for Each Object
Select a Scene with Multiple Objects
Choose a view from your concept art or Gaussian splat that contains several objects you want to extract. The more distinct objects in the scene, the more assets you'll be able to generate from a single Image Kit.

Click “Snapshot” to save your view as an image.
Create an Image Kit
Select your strongest piece of concept art and convert it into an Image Kit. An Image Kit analyzes your selected image and automatically creates individual images of up to 10 objects found in the scene. These become structured inputs for 3D generation.
IMPORTANT: Image kits do not require a prompt. However, you can add a prompt to specify more precisely what you want to focus on (e.g., "pull only the cars from the image"). If the Image Kit returns images with more than one object in the output, then you can do another Image Kit on that image again.
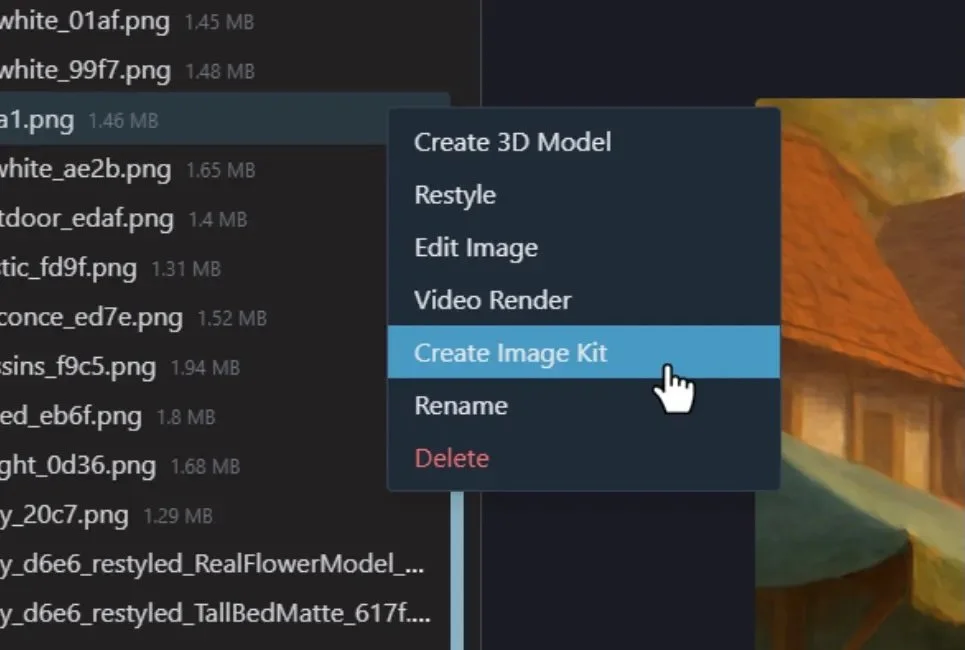
Use the Right-click shortcut to create an Image Kit.
Edit & Iterate Images
Once your Image Kit is generated, you'll have individual images of each object. Review these and refine any that need adjustment. You can edit specific object images to get them exactly right before converting them to 3D models. This is your chance to perfect details, adjust angles, or clarify any elements that might not have been captured correctly.
Edit @generated/images/imagename.png with the following edits:
[details of edits]
Step 4: Turn Object Concept Art into 3D Objects
Generate 3D Models from Image Kit
Take each individual object image from your Image Kit and convert it into a 3D mesh model.
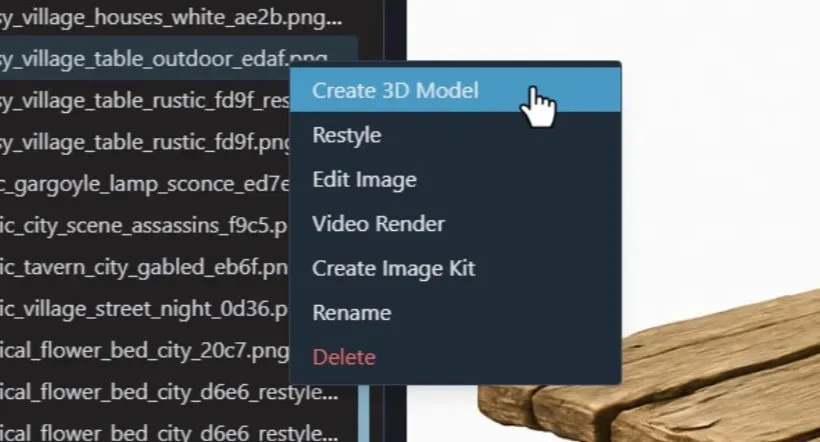
Use the Right-click shortcut to create a 3D model
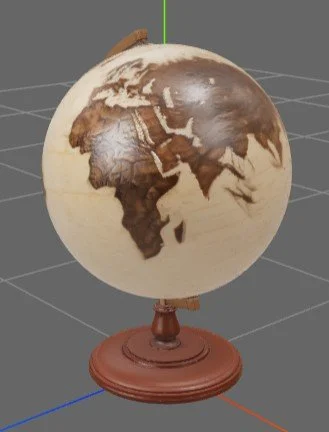
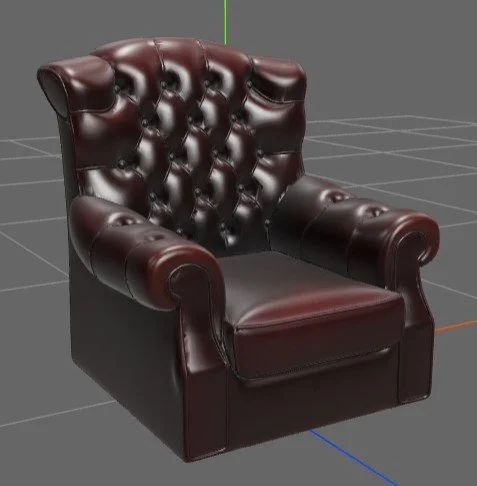
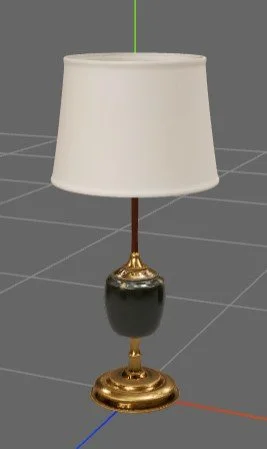
Here are a few examples:
Optimize 3D Models for Production
Once your models are generated, optimize them to ensure they perform well in real-time environments.
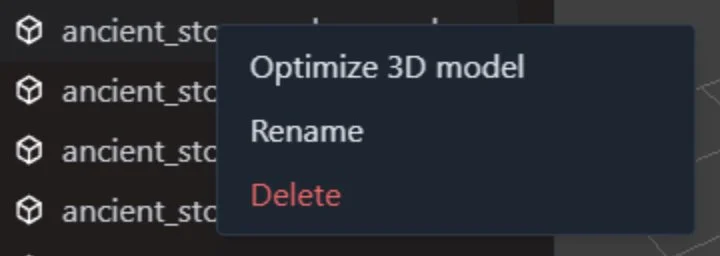
Use the right-click shortcut and select “Optimize 3D model”.
WorldEngen can handle basic optimization, but for production-level results, consider using InstaLOD for advanced mesh optimization, LOD generation, and polygon reduction.
Optionally, if you’re building your scene in Blender, you can optimize the models in the whole scene all at once in InstalLOD.
Step 5: Composite and Render
WorldEngen's built-in editor lets you quickly arrange your 3D models, adjust positioning, and preview your scene in real time. It's perfect for simple compositions and quick iterations when you need to see how your assets work together.
For complex scenes with advanced lighting setups, detailed material work, or high-quality final renders, Blender gives you the full production toolkit.
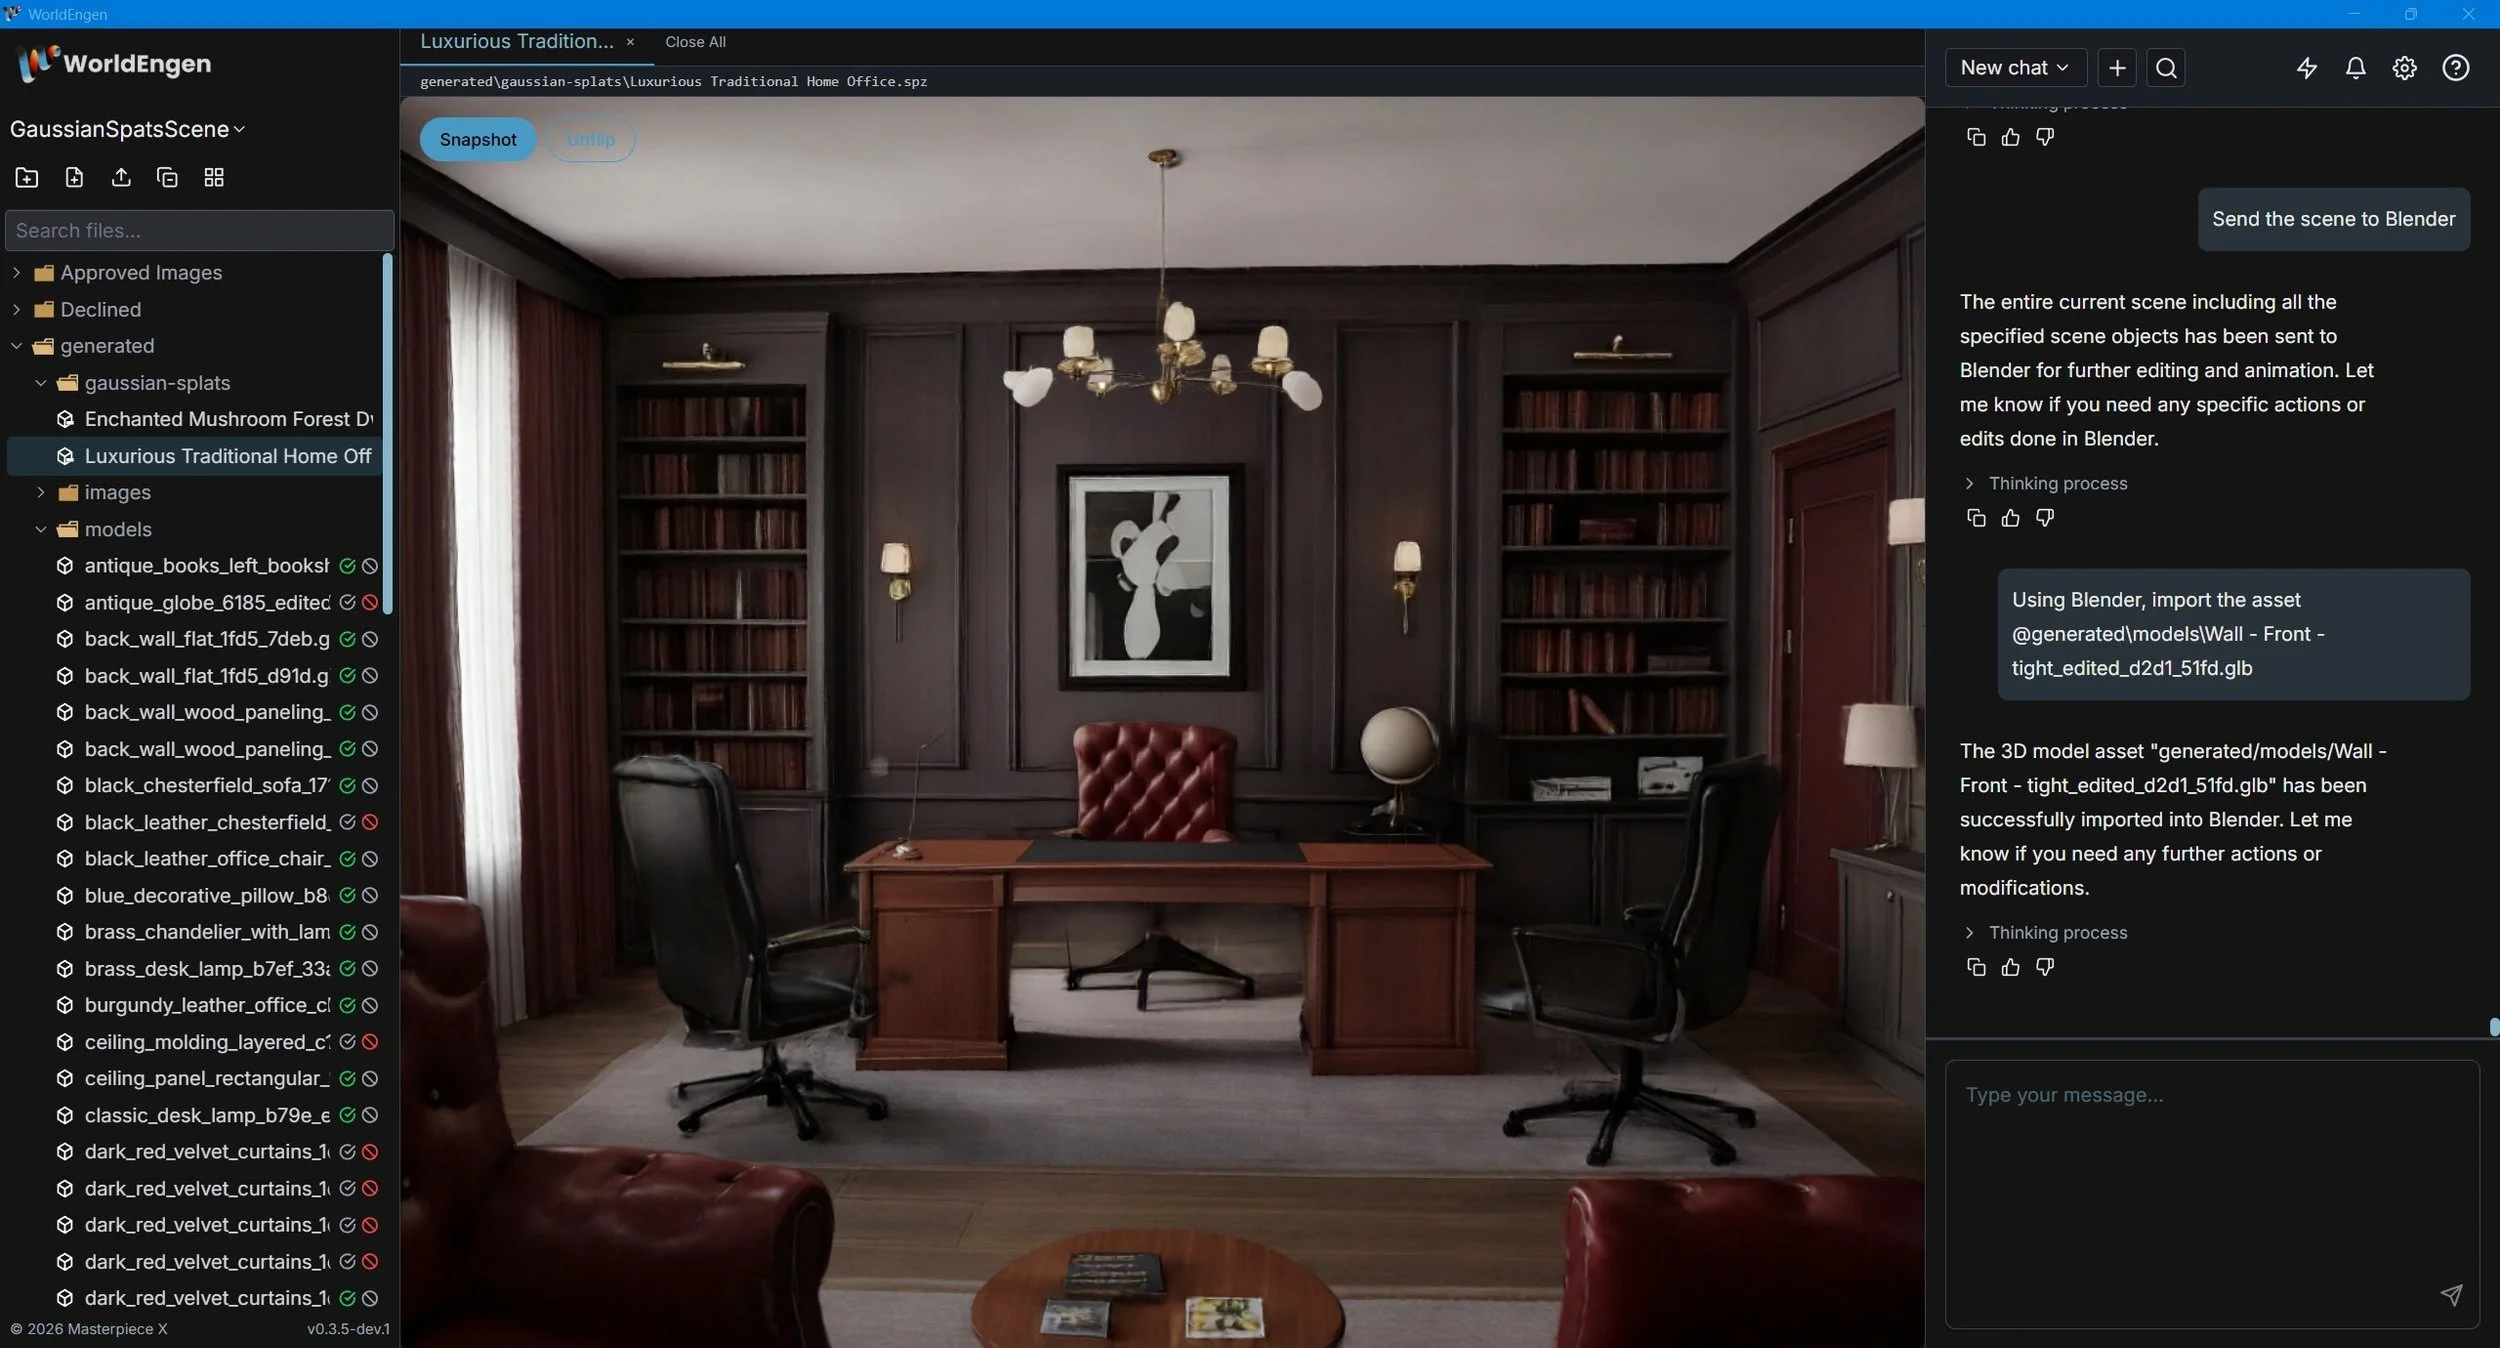
Export Scene to Blender
For complex scenes that require advanced composition and lighting control, export your 3D models to Blender where you can arrange, light, and render with full creative control.
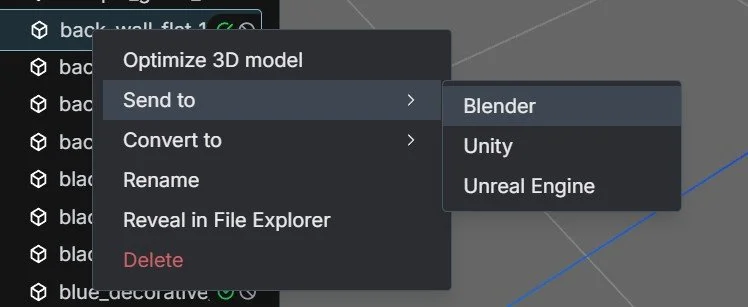
Send scene to Blender
Alternatively, if you’re building your entire scene in Blender, you can send each object to Blender one at a time by right clicking on the 3D model and selecting Send to > Blender
Make it stand out
Whatever it is, the way you tell your story online can make all the difference.
Arrange and Scale Objects
Once in Blender, position your objects to match your original Gaussian splat concept art. You can add, duplicate, scale, and rearrange objects until your scene composition matches your creative vision.
There are many commands you can use in WorldEngen to modify the scene whether you’re building it in the WorldEngen viewer or from within Blender, but often it’s the easiest to grab the manual tools within our viewer or Blender and move and scale it as needed.
Add Lighting and Render in Blender
With your objects in place, add lighting to your scene.
Add a light of 40 watts power with 0.1m radio behind the curtains
Or modify the materials by increasing material transmission or emissivity, etc. Modify the scene as needed, both through WorldEngen commands and using the manual tools.
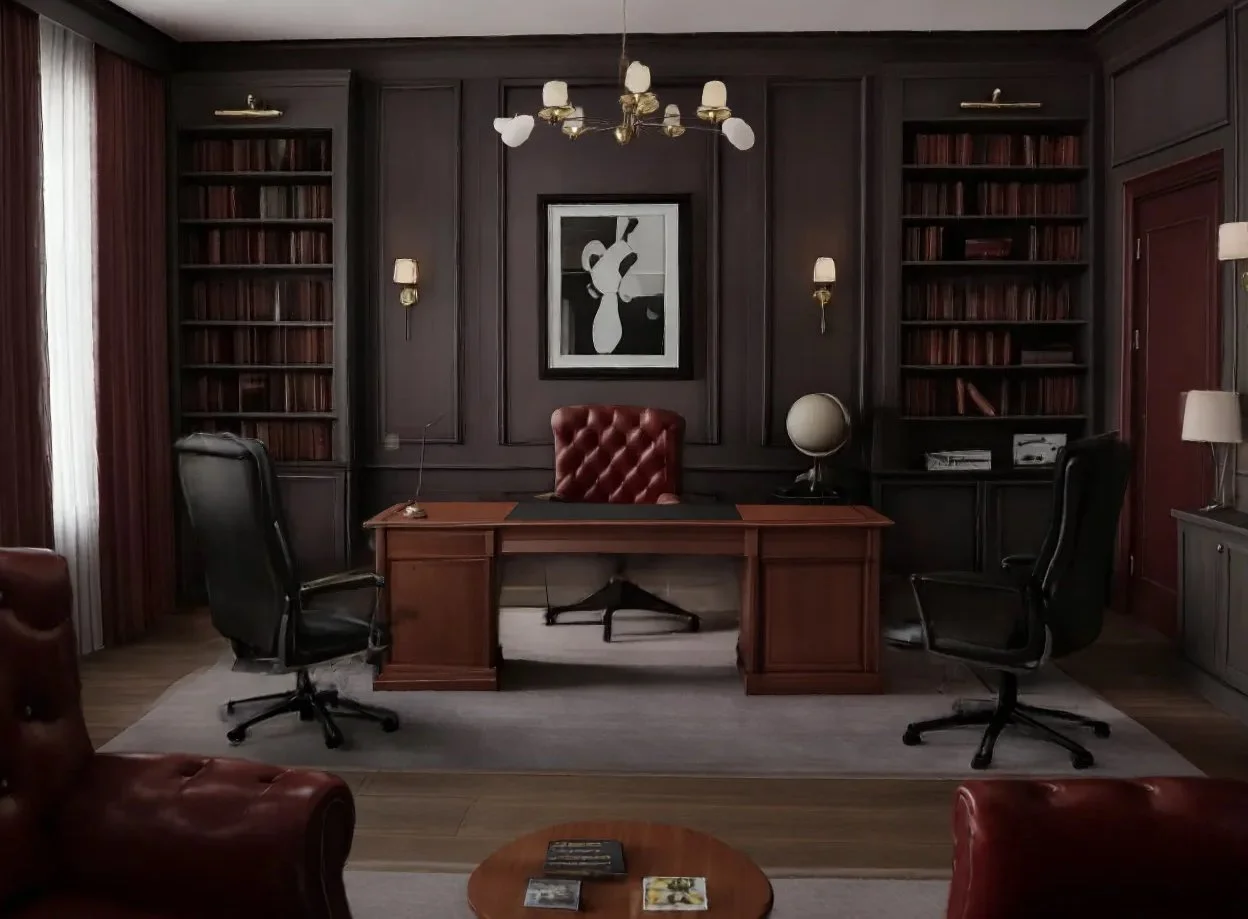
This is where your production meshes shine compared to Gaussian splats—you can relight your scene dynamically, create custom moods, and iterate on the atmosphere without the lighting baked in. Once your scene looks exactly how you want it, render your final high-quality output, like the image below.
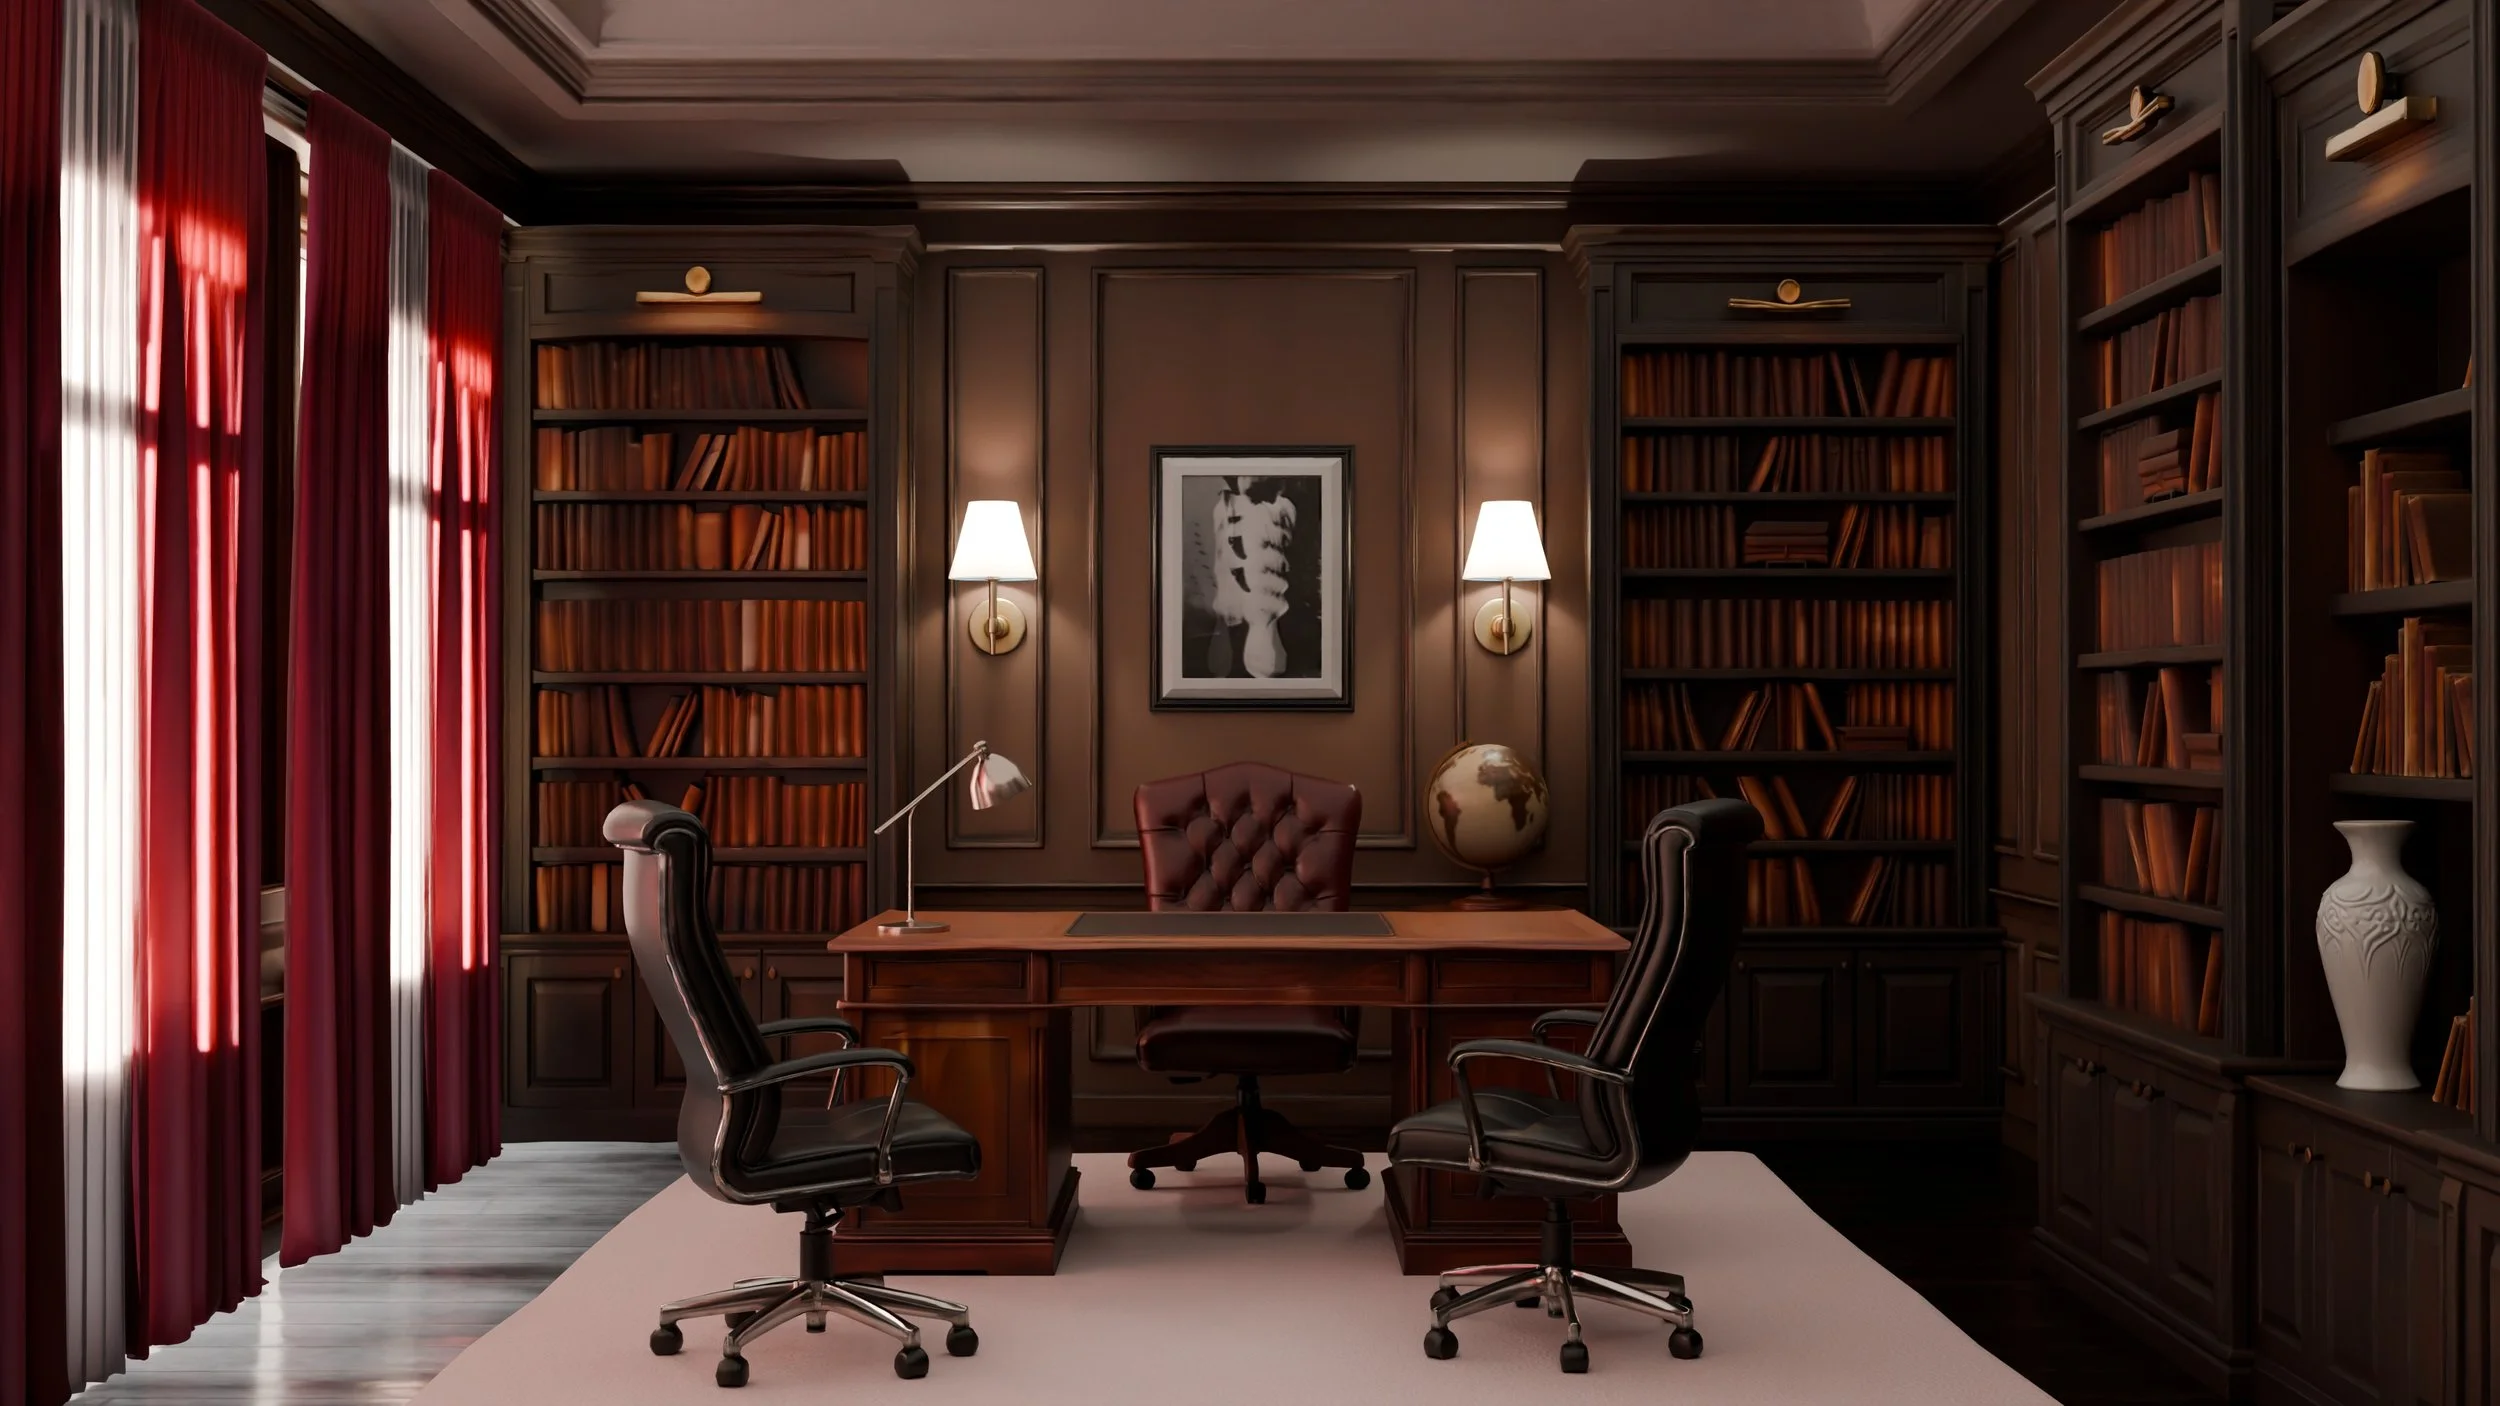
Looking great is an excellent start, but often what’s just as important is the quality of the meshes underneath. Contrary to using Gaussian splats, by having separated and optimized meshes, which can be easily modified in standard 3D tools, and can be used in games, XR, mobile, web, and other real-time environments.
Conclusion
Gaussian splats aren't a replacement for production meshes. They're the fastest way to validate your creative direction before committing resources to final assets.
By treating splats as 3D concept art to guide mesh creation, you get AI generation speed without sacrificing production requirements. Your assets work in Unity, Unreal, and Blender. They can be relit, optimized, and edited.
This isn't a workaround. It's the workflow—bridging the gap between Gaussian splats' creative potential and production 3D reality.
Next Steps
This workflow gives you the best of both worlds: the speed and creative exploration of Gaussian splats for concept art, combined with production-ready 3D mesh assets that work in any pipeline.
Ready to try it yourself? Start with a simple scene and work through the five steps. You'll quickly see how this approach gets you from concept to production-ready assets faster than traditional workflows (without the compromises of splat-to-mesh conversion).
However, this guide is just the basics that get you 90% of the way there. To show you how to build higher-quality scenes to the full detail of these images, we’re building a detailed tutorial to expand further on each step of this process. Follow along to see exactly how to execute this workflow end-to-end.